DIY Gecko-Safe Custom Background
A heavier-duty method for building custom backgrounds, perfect for larger species
Introduction
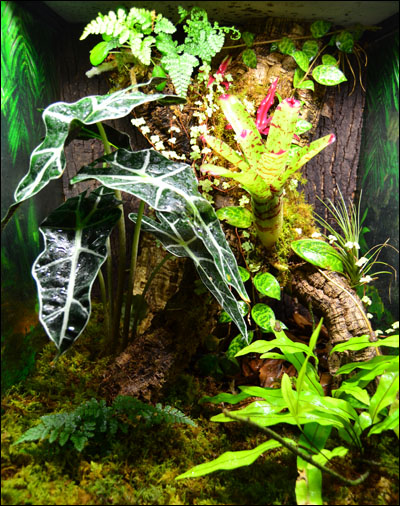
Certain larger species can do quite a bit of damage to the more delicate traditional foam style custom backgrounds over time. There are a few different techniques & supplies we recommend which help to ensure long-term success when working with larger species of Reptiles & Amphibians. The type of background described in this article is appropriate for species like Crested Geckos, Gargoyle Geckos, Giant Day Geckos, Tokay Geckos, Golden Geckos, Uroplatus, Chameleons, R. leachianus, and most species of a similar size. The methods described below will explain our process in building a great looking, long-lasting heavier duty custom background, without sacrificing build quality & aesthetics. It can be applied to glass, screen, and acrylic Vivariums & terrariums, although the vivarium route is always our 1'st choice! This type of background is slightly easier & less expensive to build than our standard custom backgrounds, with the trade-off of slightly less fine detail. We hope this article will help hobbyists of any experience level build a great looking, durable background for larger inhabitant species.
Project Information:
Expected Time Investment For Small Enclosures (~8-12in): 1/2 HourExpected Time Investment For Medium Enclosures (~18in): 1.5+ Hours
Expected Time Investment For Large Enclosures (~24in): 3+ Hours
Expected Time Investment For XL Enclosures (~36in): 4+ Hours
Estimated Financial Investment: $27-200+ depending on size & materials
Parts List:
Article Contents:
Step 1: Prep the glass enclosure
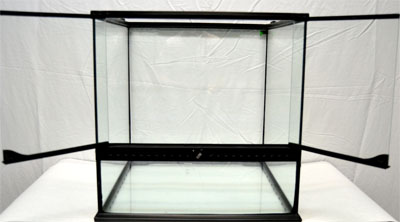
Before beginning, it's important to thoroughly clean the glass in the terrarium you'll be using. Any glass cutting oil or dust left on the glass of the enclosure can prevent a solid silicone bond, which can negatively impact the background's adhesion to the glass. We use vinegar to help get the glass crystal clear on newer enclosures, and any calcium deposits on the glass of older enclosures can be addressed by sliding a lemon in half, and rubbing it on the affected panel(s). The acid of the lemon will help to break down buildup on the glass, without using any harsh chemical cleaners. If all else fails, a razor blade with a scraping attachment can be used as a last result. (Use a razor scraper only on glass - not on acrylic or plexiglass enclosures!)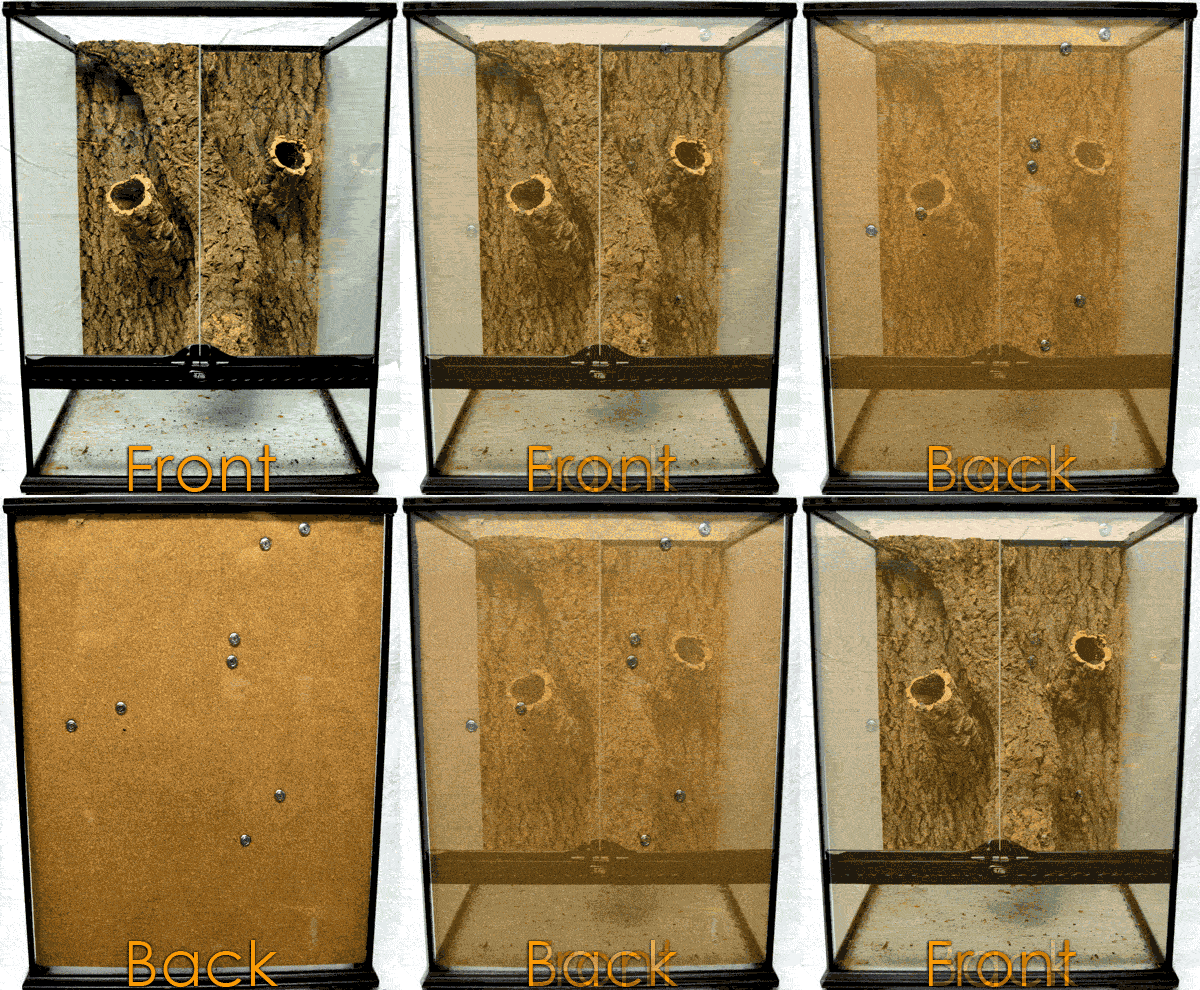
Step 2: Test fit & attach cork decor to the background
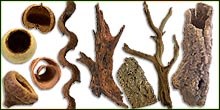
From here, with the background still out of the enclosure, we recommend test-fitting the cork decor to the tile background. This will help provide a visual layout for the final look of the enclosure, before any permanent decisions are made. Some enclosures require planting spots on the background, for which Modular Cork Planters can be used to provide a realistic finished visual. In our example enclosure, we're using two modular cork planters, and one large Cork Round. When laying out the position of the wood decor, it's important to be sure that the arrangement will allow enough room for the diagonal insertion of the background through the top opening of the terrarium.Using Food Grade Stainless Hardware To Affix Background Decor:
With the placement of the wood decor finalized, it's time to attach it to the background! For large pieces, we use both food grade stainless steel screws with curved washers drilled through the background, into the cork decor. When using stainless hardware, the pointed end should end inside the cork decor being attached. Be sure that the pointed end of the screw doesn't protrude into the enclosure itself, as it could be a hazard to the inhabitant. If the situation does not allow for the screw to be sunk into the wood decor completely (common on thin cork), any exposed stainless bits can be carefully coated in Silicone, and covered with NEHERP Background Mix for an effective camouflage. When using stainless hardware, using silicone as an additional adhesive between the Cork Tile Background & wood decor being mounted is a beneficial addition to ensure a permanent bond.Using Silicone To Affix Background Decor:
For lighter pieces of wood decor, Stainless Hardware may not be necessary. In that case, we find it's often easiest to add a small coating of silicone to the wood decor being attached to the background, and carefully setting it into place. Once cork is arranged in a suitable pattern, it's important to search for any silicone which may have been squeezed out into view. All exposed silicone can be coated with NEHERP Background Mix. To do that, simply pour background mix onto the exposed silicone, and gently press into place. We recommend leaving the background out to cure for at least 36 hours before proceeding, although smaller jobs may require as little as 12 hours to cure.Using Silicone For Additional Detail:
Foam is not as durable as Silicone, and can't always be used in this type of vivarium build due to it's fragility. A more durable alternative to foam is using a thin layer of silicone to create a vining pattern surrounding & leading away from any mounted wood decor. This silicone is to be quickly coated with a layer of NEHERP Background Texture mix to create a "grown in" look for the affixed wood decor. (This step is completely optional)Special Instructions For Larger Enclosures:
Because Cork Background Tiles are only manufactured in sizes up to 18in X 24in, larger enclosures may require the use of more than one panel. The gap between the two can easily be hidden by placing wood decor over it, using Silicone for additional detail (as described above) if desired.Step 3: Attach the customized cork tile background to the enclosure
Permanent installation
For ease of operation, we recommend tilting the glass enclosure so it rests on it's back panel, with the front facing upwards. From there, we suggest carefully applying silicone to the back of the cork tile, being careful that no areas of silicone are thicker than 1/8in. It isn't necessary to coat the entire back panel, and we often do a "union jack"Removable installation
This type of background can be mounted to be removable, as shown in our example. To do this, simply add our Food Grade Stainless Steel screws through the top of the enclosure's lip into the cork tile. In our experience, screwing through the already-provided "wire channels" works great, which applies to all Exo Terra & Zoo Med glass terrariums. To ensure a firm hold, we use at least 2 screws on the 12in wide enclosures, 4 screws in 18in wide enclosures, 6 screws in 24in wide enclosures, and 8 screws in the large 36in enclosures. The drawback to the removable installation is that the cork may bow slightly over time, as humidity penetrates the Cork Tile Background. This bowing is usually only noticeable from the side-view of the enclosure, and can easily be hidden by a layer of Contact Paper. Because this article is written for larger inhabitants, there is very little risk of the animal(s) squeezing behind the background. If you will be using this style of background for a small species, it's advisable to squeeze some moist Sphagnum Moss on the sides of the cork tile, to prevent them from getting behind it. In this case, we've found that a (cleaned) credit card works great as a tool to help press the sphagnum into the thin side areas!Step 4: Turn the enclosure upright, and add the rest of the decor!
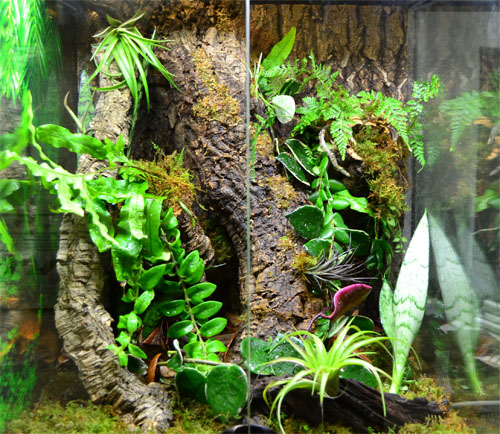
This marks the finish of the physical background work, and it's all downhill from here! Modular Cork Planters can be filled with appropriate Vivarium Substrate, and planted with moss & other plants to ensure a natural finished look.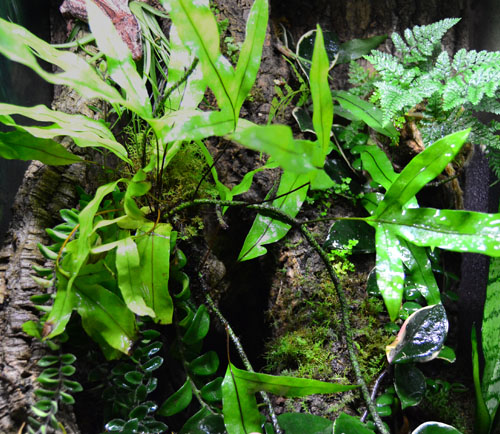
About The Example Vivarium
• Exo Terra 18x18x24 enclosure
• NEHERP Vivarium V2 Substrate Base Kit
• NEHERP Vivarium LED Lighting Kit
• Heavy Duty Background Decor Kit
• Two extra Cork Rounds
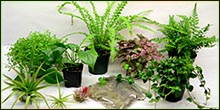
• Gecko Plant Pack
Other Examples Of Vivariums Built Using This Method:
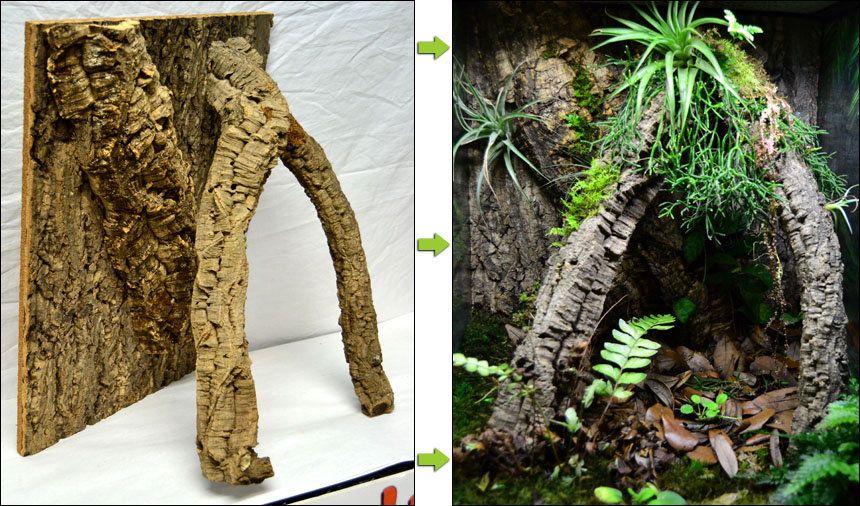
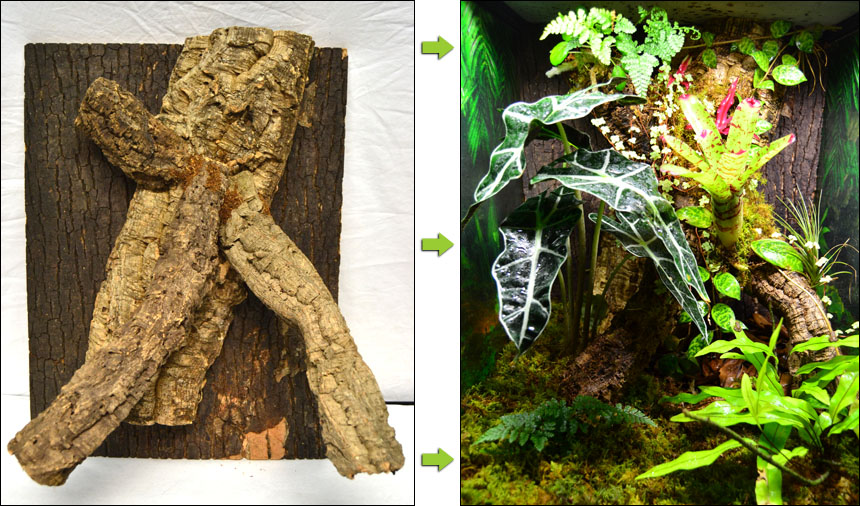

Thanks for choosing us as your vivarium info source!
We hope you'll choose us as your vivarium supply source, too! 
Vivarium-Related Kits
 Base Kits

 Complete Kits

 Lighting Kits


